🖧 Brocade Zoning using CLI commands
Why do we need
Zoning
?
Zoning on SAN switches are required to make sure that, the desired WWNs or Ports are communicating with respective WWNs or Ports
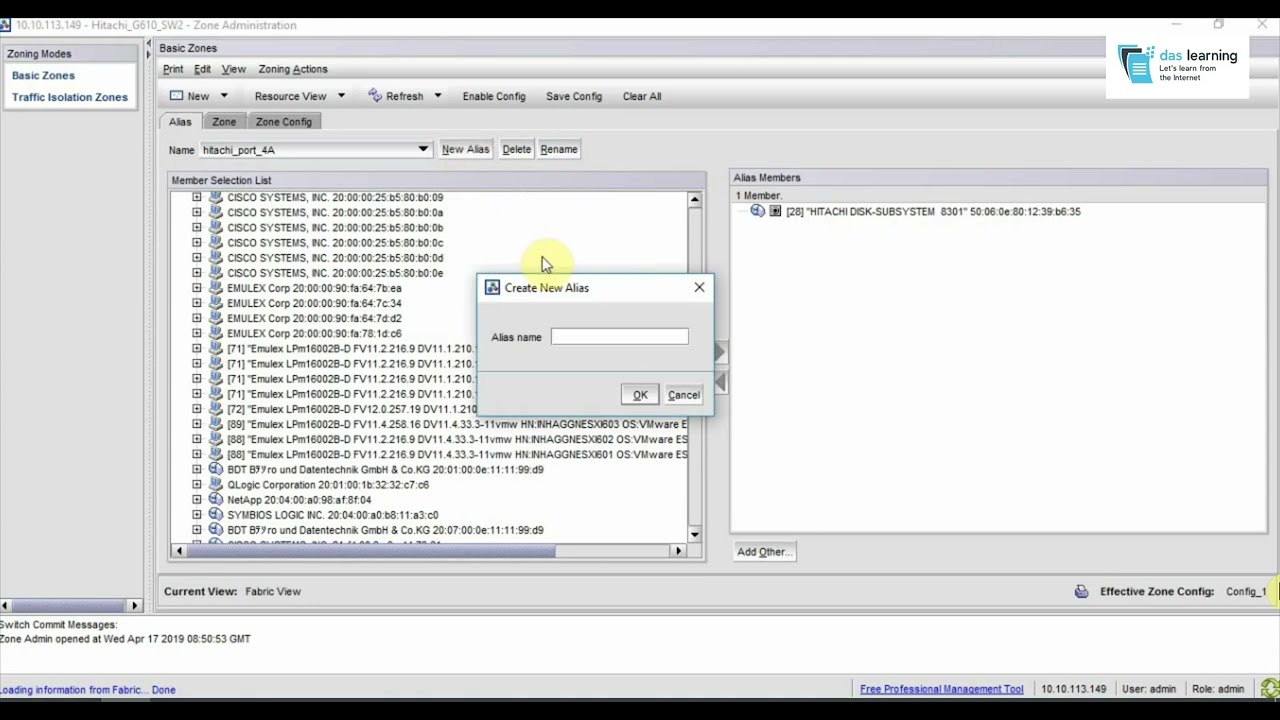
📽️ YouTube video on GUI Zoning
If you are interested in the Brocade GUI Zoning or if you want to grab the basic understanding on SAN switch zoning, here is our
YouTube Video
The Theory
There are mainly two types of Zoning in any SAN switch. They are known as Soft Zoning and Hard Zoning.
Soft Zoning: The zoning is created based on WWPNs (WWN) of the connected nodes. The nodes can be connected to any port on the switch and if zoning is configured properly, then can communicate with each other. This is the preferable way in SAN switch zoning.
Hard Zoning: The same kind of communication configuration is created, but instead of using the WWNs, Port Numbers are added to the configuration. If you change a device port and connect it to another port later, that device will not be communicating. This is also called Port base zoning.
That's enough theory now (I will put the Youtube video link, which can explain the theory and also you can check how to do the zoning from Brocade GUI. Let's start the CLI zoning (Soft Zoning) then >
Steps to perform Soft Zoning using the CLI
- Login into the switch CLI using Putty or any such client that supports telnet. Type in the IP address and port (if changed), then click Open

-
Now check the port status and the connected WWNs in the switch using
portshowcommand.
sw1:admin> portshow
Index Port Address  Media Speed   State       Proto
==================================================
   0   0   010000   id    N16     Online      FC  F-Port  50:06:0e:80:11:22:33:44
   1   1   010100   id    N16     Online      FC  F-Port  50:06:0e:80:11:22:33:45
   2   2   010200   id    N32     No_Light    FC
   3   3   010300   id    N32     No_Light    FC
   4   4   010400   id    N32     No_Light    FC
   5   5   010500   id    N32     No_Light    FC
   6   6   010600   id    N32     No_Light    FC
   7   7   010700   id    N32     No_Light    FC
   8   8   010800   id    N16     Online      FC  F-Port  10:00:00:10:11:12:13:14
   9   9   010900   id    N16     Online      FC  F-Port  10:00:00:10:21:22:23:24
  10  10   010a00   id    N16     Online      FC  F-Port  10:00:00:10:31:32:33:34
  11  11   010b00   id    N16     Online      FC  F-Port  10:00:00:10:41:42:43:44
-
Check if there is any existing configuration available in the switch (the switches in production will have config created). If not created, we are going to create in this article.
-
If there is a configuration present, you can check the active configuration details, which should look like the below screen. Here the config name is ' CFG_SAN1 ', please note the name, it is very important while we save and enable our config.
-
Now we need to create an Alias on top of our WWPNs (WWN). We will be creating one alias for a storage port and another for a server. The command is like: alicreate "<alias_name>", "<WWPN>"
-
You can check the created aliases using ' alishow ' command
-
Then we need to create the zone with the above aliases. The command looks like: zonecreate "<zone_name>", "<alias1>;<alias2>;..."
You can check the zone details with ' zoneshow ' command. -
If there was no configuration present as shown in step no. 3, you need to create a new configuration with the desired name as shown below, skip this if you already have an active configuration as shown in step no. 4 and directly move to step no. 9
Config create command looks like: cfgcreate "<cfg_name>", "<zone1>;<zone2>;....." # basically the zones which you want to add in the config while creating it. -
If you already have an active configuration on the switch, then you can add the zone into the existing configuration as shown below.
Command looks like: cfgadd "<cfg_name>", "<zone1>;<zone2>;..." -
Now we have our configuration ready, we need to save it permanently in the switch memory. Just type in 'cfgsave'
sw1:admin> cfgsave You are about to save the Defined zoning configuration. This action will only save the changes on Defined configuration. If the update includes changes to one or more traffic isolation zones, you must issue the 'cfgenable' command for the changes to take effect. Do you want to save the Defined zoning configuration only? (yes, y, no, n): [no] y Updating flash ... sw1:admin> -
As the configuration is now saved in flash memory, its time to enable it, so that the configuration starts working for the new Zone(s).
Command looks like: cfgenable <cfg_name> # which we noted for an already active cfg or the one which we have created when there was no cfg available.Please note: There can only be one active configuration at any point in time though you can create multiple configurations. So be very highly careful while enabling it. If you end up enabling the wrong one, you will end up with a production outage/ downgrade.
sw1:admin> cfgenable CFG_SAN1
You are about to enable a new zoning configuration.
This action will replace the old zoning configuration with the
current configuration selected. If the update includes changes
to one or more traffic isolation zones, the update may result in
localized disruption to traffic on ports associated with
the traffic isolation zone changes.
Do you want to enable 'CFG_SAN1' configuration  (yes, y, no, n): [no] y
zone config "CFG_SAN1" is in effect
Updating flash ...
sw1:admin>
Contact Me
If you want to connect me, here you can:
daslearning.in
Thank you.